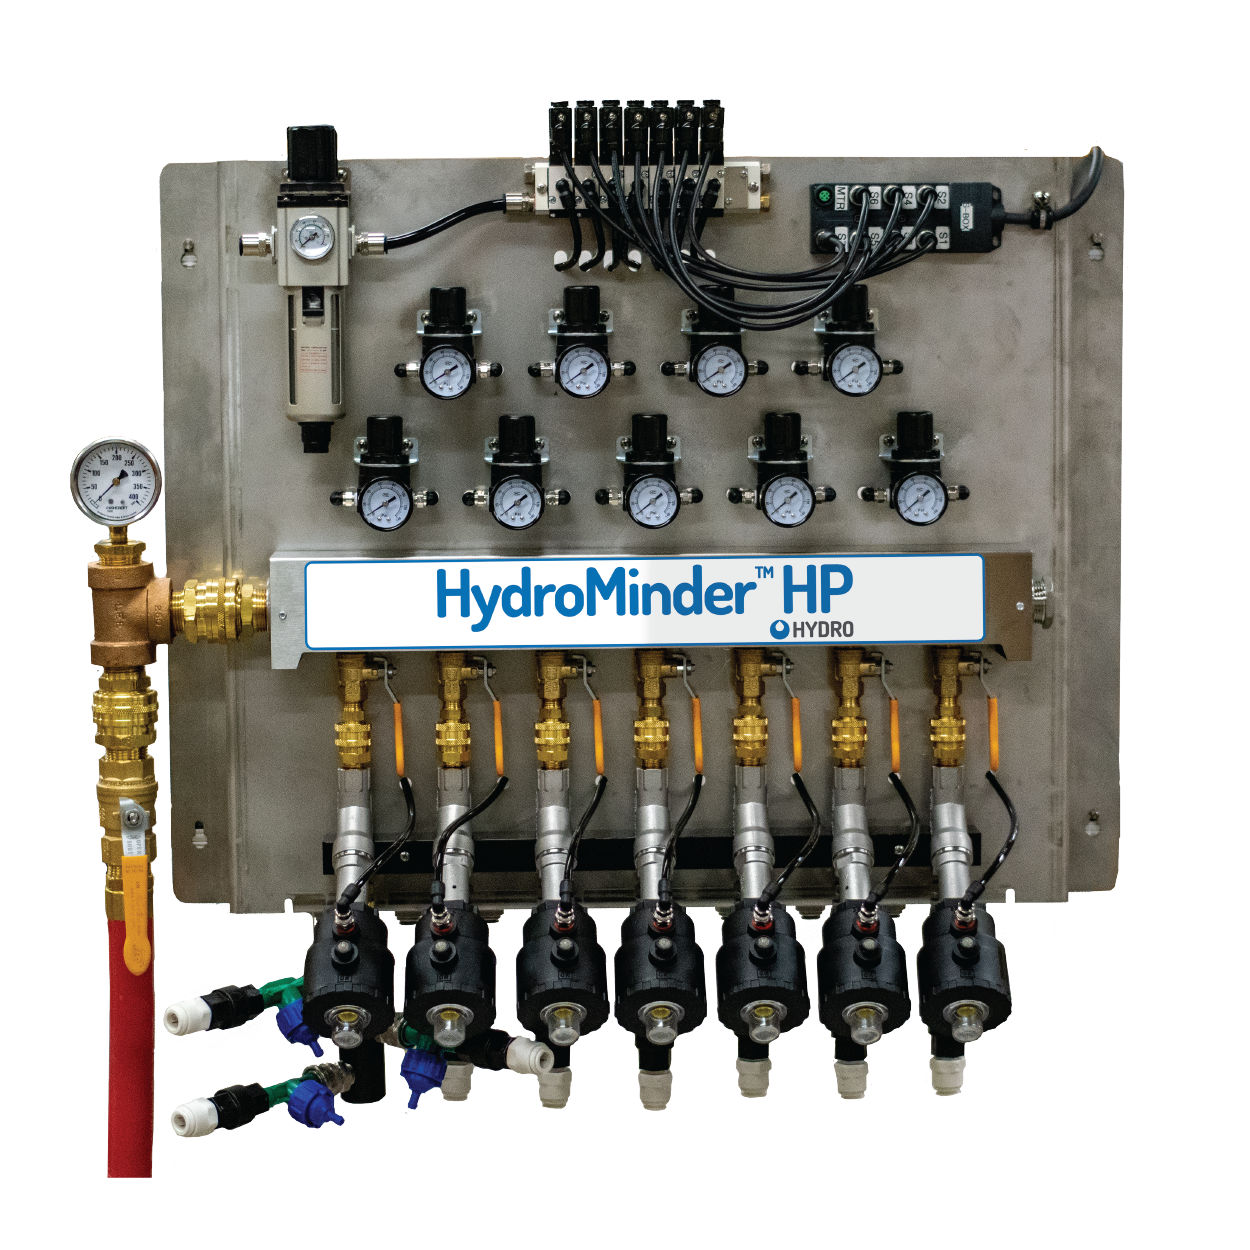
HydroMinderTM HP
High Pressure Chemical Dispensing Unit for Car Wash, 5 or 7 Valves
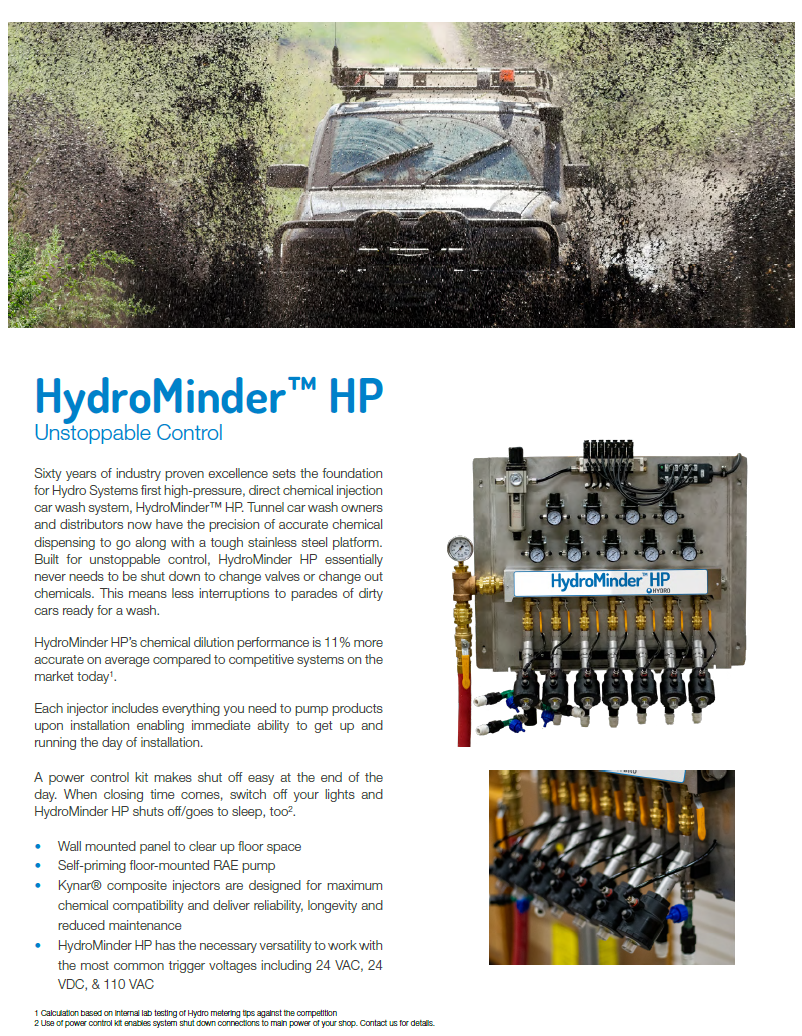
Sixty years of industry proven excellence sets the foundation for Hydro Systems first high-pressure, direct chemical injection car wash system, HydroMinder™ HP. Tunnel car wash owners and distributors now have the precision of accurate chemical dispensing to go along with a tough stainless steel platform. Built for unstoppable control, HydroMinder HP essentially never needs to be shut down to change valves or change out chemicals. This means less interruptions to parades of dirty cars ready for a wash. HydroMinder HP’s chemical dilution performance is 11% more accurate on average compared to competitive systems on the market today.
![]()
Easy Maintenance, Switch Out Valves in Less Than 10 Seconds Without Stopping Service
![]()
11% Greater Accuracy in Diliution (Compared to Leading Competitor Brand)
![]()
Boasts Robust Stainless Steel Panel and Componentry Increasing Durability
HydroMinder HP Resources
Everything you need all in one place
1) Easy Maintenance
The HydroMinder HP provides unstoppable control - allowing your car wash to keep running while valves can be easily exchanged in less than ten seconds. This means less interruptions to parades of dirty cars to wash.
2) Industry Leading Accuracy
Utilizing Hydro's best-in-class industry knowledge, the HydroMinder HP was designed to provide chemical dilution that is 11% more accurate on average compared to competitive systems on the market today.
3) Stainless Steel Strength and Rigidity
Reducing the risk of corrosion, increased durability & endurance, the HydroMinder HP boasts a robust, 11 gauge stainless steel design.


| Key | Part No. | Description |
| 1 | HYD10100124 | Mounting Plate |
| 2 | HYD10100395 | Signal |
| 3 | HYD10100112 HYD10100111 | 7 Valve Manifold Cover 5 Valve Manifold Cover |
| 4 | HYD10100126 | Manifold Plug, 1” NPT |
| 5 | HYD10100349 | Ball Valve, 3/8” NPT |
| 6 | HYD10100129 | Quick Connect Plug, 3/8” MPT, Brass |
| 7 | HYD10100123 HYD10100380 | 7 Valve Support Bar 5 Valve Support Bar |
| 8 | HYD10100382 HYD10100347 | Pneumatic Solenoid manifold 7 valve Solenoid manifold 5 valve Solenoid manifold |
| 9 | HYD10100383 | Blanking Plate, 3 Way, 100 Series |
| 10 | HYD10100335 HYD10100336 HYD10100337 | Pneumatic Solenoid Valve 24 VDC Assembly Pneumatic Solenoid Valve 120 VAC Assembly Pneumatic Solenoid Valve 24 VAC Assembly |
| 11 | HYD10100342 | Main Air Regulator and Input Connector |
| 12 | HYD10100350 | Pressure Gauge 1/4 NPT Male Bottom Connection, 2-1/2” Dial |
| 13 | HYD10100127 HYD10100463 | 1” Quick Connect Socket 1” Quick Disconnect O-ring |
| 14 | HYD10100352 | Ball Valve, 1” NPT |
| 15 | HYD10100121 HYD10100343 | 7 Valve Water Manifold 5 valve Water Manifold |
| 16 | HYD10100386 | Male Connector, 3/8 in Tube Size, 1/4” Pipe Size |
| 17 | HYD10100385 | Elbow, 1/4 Tube x 1/8 MNPT |
| 18 | HYD10100389 | Foaming Air Outlet Connector, 3/8” X 1/4” Tube |
| 19 | HYD10100341 | Foaming Air Regulator and 2 elbows |
| 20 | HYD10100351 | Bushing Adapter with Hex Body, 1 NPT Male, 1/4 NPT Female |
| 21 | HYD10100362 | Tee Connector |
| 22 | HYD10100128 | Quick Connect Plug |
| Not Shown: | ||
| HYD10100338 | Solenoid Valve Gasket | |
| HYD10100387 | Air Union Tee, 1/4” (behind panel) | |
| HYD10100388 | Air Check Valve, 1/4” (behind panel) | |
| HYD10100122 | Water Manifold Spacer (behind manifold) | |
Introducing the HydroMinder HP
1) Easy Maintenance
The HydroMinder HP provides unstoppable control - allowing your car wash to keep running while valves can be easily exchanged in less than ten seconds. This means less interruptions to parades of dirty cars to wash.
2) Industry Leading Accuracy
Utilizing Hydro's best-in-class industry knowledge, the HydroMinder HP was designed to provide chemical dilution that is 11% more accurate on average compared to competitive systems on the market today.
3) Stainless Steel Strength and Rigidity
Reducing the risk of corrosion, increased durability & endurance, the HydroMinder HP boasts a robust, 11 gauge stainless steel design.
| Key | Part No. | Description |
| 1 | HYD10100124 | Mounting Plate |
| 2 | HYD10100395 | Signal |
| 3 | HYD10100112 HYD10100111 | 7 Valve Manifold Cover 5 Valve Manifold Cover |
| 4 | HYD10100126 | Manifold Plug, 1” NPT |
| 5 | HYD10100349 | Ball Valve, 3/8” NPT |
| 6 | HYD10100129 | Quick Connect Plug, 3/8” MPT, Brass |
| 7 | HYD10100123 HYD10100380 | 7 Valve Support Bar 5 Valve Support Bar |
| 8 | HYD10100382 HYD10100347 | Pneumatic Solenoid manifold 7 valve Solenoid manifold 5 valve Solenoid manifold |
| 9 | HYD10100383 | Blanking Plate, 3 Way, 100 Series |
| 10 | HYD10100335 HYD10100336 HYD10100337 | Pneumatic Solenoid Valve 24 VDC Assembly Pneumatic Solenoid Valve 120 VAC Assembly Pneumatic Solenoid Valve 24 VAC Assembly |
| 11 | HYD10100342 | Main Air Regulator and Input Connector |
| 12 | HYD10100350 | Pressure Gauge 1/4 NPT Male Bottom Connection, 2-1/2” Dial |
| 13 | HYD10100127 HYD10100463 | 1” Quick Connect Socket 1” Quick Disconnect O-ring |
| 14 | HYD10100352 | Ball Valve, 1” NPT |
| 15 | HYD10100121 HYD10100343 | 7 Valve Water Manifold 5 valve Water Manifold |
| 16 | HYD10100386 | Male Connector, 3/8 in Tube Size, 1/4” Pipe Size |
| 17 | HYD10100385 | Elbow, 1/4 Tube x 1/8 MNPT |
| 18 | HYD10100389 | Foaming Air Outlet Connector, 3/8” X 1/4” Tube |
| 19 | HYD10100341 | Foaming Air Regulator and 2 elbows |
| 20 | HYD10100351 | Bushing Adapter with Hex Body, 1 NPT Male, 1/4 NPT Female |
| 21 | HYD10100362 | Tee Connector |
| 22 | HYD10100128 | Quick Connect Plug |
| Not Shown: | ||
| HYD10100338 | Solenoid Valve Gasket | |
| HYD10100387 | Air Union Tee, 1/4” (behind panel) | |
| HYD10100388 | Air Check Valve, 1/4” (behind panel) | |
| HYD10100122 | Water Manifold Spacer (behind manifold) | |
Introducing the HydroMinder HP
Ready to get started?
Our experts are here to help. Tell us more about what you need
so we can connect you to the right Hydro experts.
Common Questions
Have a different question? Reach Out
We recommend only using the RAE pump and VFD designed and tested specifically for the Hydrominder HP panel. The installation of another pump may have adverse effects on the panel components and dispensing process and void any warranty.
The panel and VFD will mount in 4 foot by 4 foot area on the wall. The pump should be installed near the VFD and requires a 1.5 foot by 1.5 foot area on the floor. We recommend before any installation, a site survey be completed per the Hydrominder HP User Manual.
It takes less than ten seconds while the whole panel stays in service. Each valve is on a dedicated line with an output ball valve and quick connects between the panel and injectors. Replacing a valve can be performed with virtually no downtime and without tools. Engage the valve's shutoff lever, unscrew its signal cable, unplug its air tube, remove its injector at the bottom quick disconnect, and then remove the valve from the panel at the top quick disconnect. Follow the steps in reverse when installing a new valve.
Even if less than 7 valves are needed, we recommend getting the 7 valve configuration to ensure your system is always running at its best. The extra valves and components can come in handy when switching chemicals or servicing valves. Instead of changing valve and chemical connections, switch the cables at the signal box for seamless transition and keep up with all the dirty cars.
Related Products
Related Products


PSG

3798 Round Bottom Road,
Cincinnati, OH 45244
Cincinnati, OH 45244


3798 Round Bottom Road,
Cincinnati, OH 45244
Cincinnati, OH 45244

Hydro Resources
Hydro Resources


For new product, event and industry updates:
By entering your email you agree to receive marketing messages from PSG Hydro. You may unsubscribe at any time.
© 2026 PSG All Rights Reserved | A Dover Company | Privacy Policy | Cookies | Terms of Use
